 English




We use cookies to offer you a better browsing experience, analyze site traffic and personalize content. Part of the tracking is necessary to ensure SEO effectiveness,
By using this site, you agree to our use of cookies.
Visit our cookie policy to learn more.
How to Install Pallet Racks Safely: A Step-by-Step Guide
Aug 26 , 2026
Table of Content
[Hide]
Installing pallet racks correctly is essential for warehouse safety, storage capacity, and daily operating efficiency. A properly installed system should stand level and plumb, support the specified pallet loads, and remain stable during forklift operations.
Many installation problems can be avoided before the racks arrive by confirming pallet dimensions, maximum loads, beam levels, aisle requirements, and floor conditions during the design stage. This guide explains how to install standard selective pallet racking safely and efficiently.
Why Proper Pallet Rack Installation Matters
Pallet racking carries heavy loads at height, so even a small installation error can create serious safety risks. Misaligned uprights, unsecured beams, overloaded levels, or loose floor anchors may reduce the stability and load capacity of the entire rack system.
Correct installation helps the rack support its designed load capacity, reduces the risk of beam disconnection or rack instability, creates safer forklift aisles, improves pallet access, and makes future inspections and maintenance easier.
When planning new pallet storage racks, the layout, bay dimensions, beam levels, pallet sizes, floor conditions, and load requirements should all be confirmed before assembly. The installation should always follow the manufacturer’s approved drawings and applicable local building and workplace safety requirements.
What to Prepare Before Installation
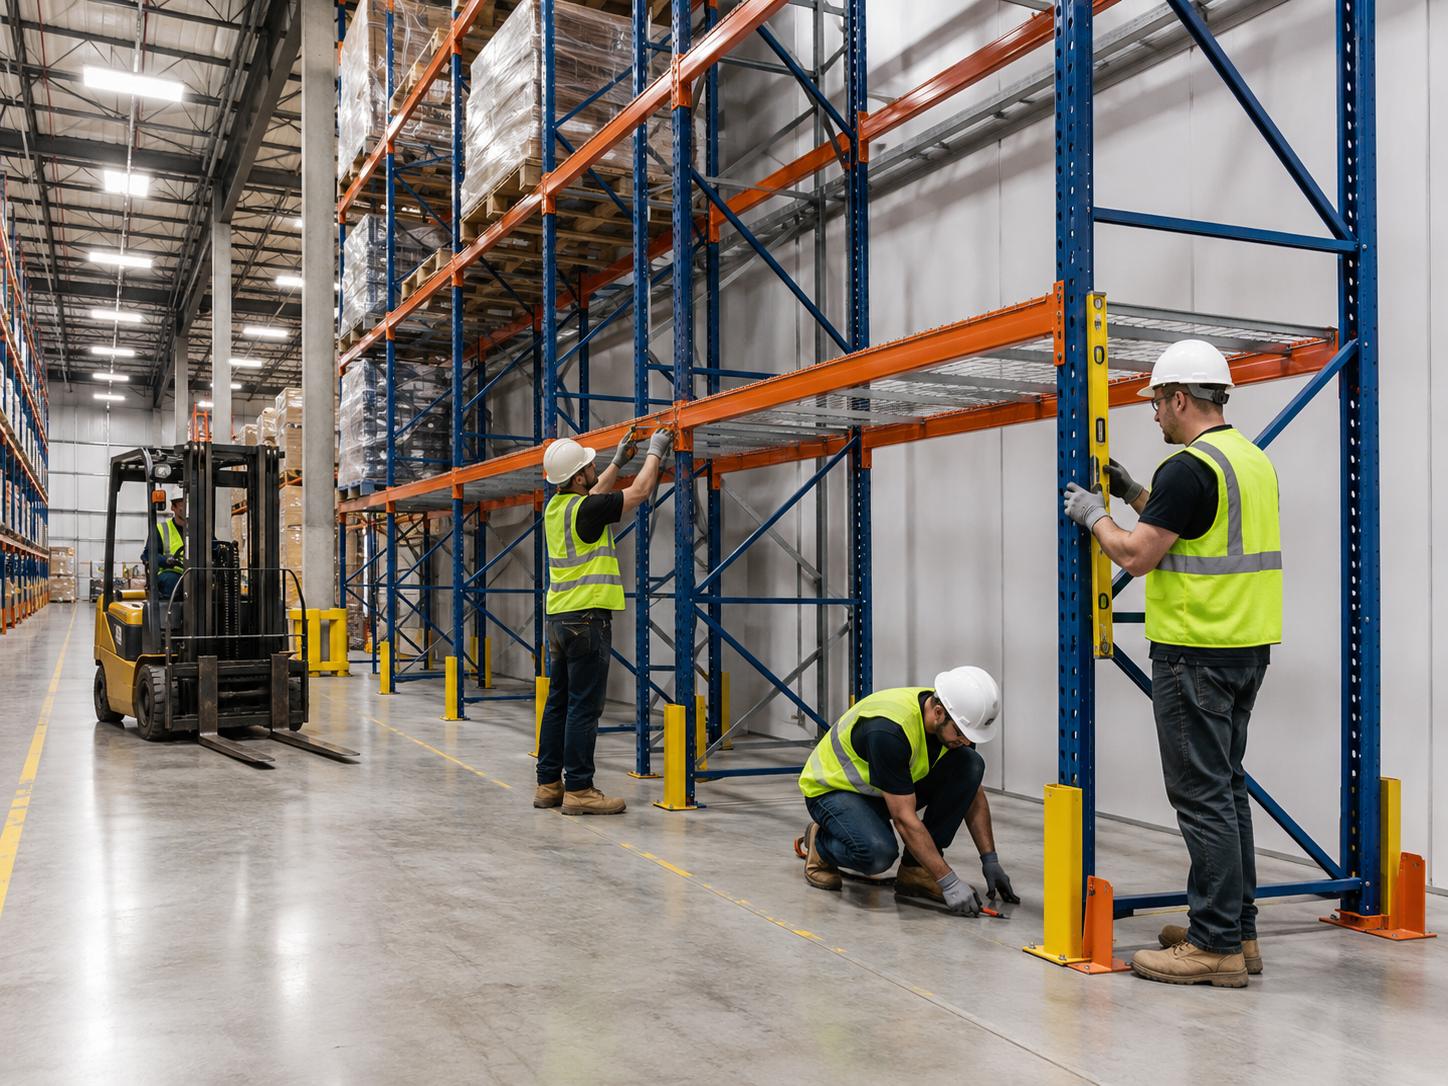
Before assembling the rack system, inspect the warehouse and prepare the installation area. The concrete floor should be strong, reasonably level, and free from major cracks or damage. Remove unnecessary equipment, packaging materials, and obstacles from the work zone.
Confirm the pallet dimensions and maximum pallet weight, required number of storage levels, upright height, bay width, beam length, forklift aisle width, ceiling height, lighting, sprinklers, emergency exits, and required rack protection.
Suitable tools may include a tape measure, chalk line or laser level, spirit level, drill, socket set, torque wrench, rubber mallet, and approved anchors. Workers should wear appropriate personal protective equipment such as safety glasses, gloves, hard hats, and steel-toe boots. Fall protection may also be necessary when working at height.
Safety Precautions to Consider
Pallet rack installation should be completed by trained personnel under the supervision of a competent person. Use sufficient workers and suitable lifting equipment when raising and positioning upright frames. Never work beneath suspended loads, and keep unauthorized personnel away from the installation zone.
Forklift traffic should be stopped or separated from the work area with barriers and clear warning signs. Do not install damaged components, and never replace manufacturer-approved bolts, beam connectors, braces, or safety clips with unsuitable alternatives.
Key safety precautions include:
Do not exceed the specified load capacity.
Do not modify uprights, beams, or braces without approval.
Use the correct anchor type for the concrete floor.
Keep emergency exits and fire equipment unobstructed.
Use approved ladders, platforms, or lifting equipment.
Stop work if the floor, components, or tools create an unsafe condition.
Upright protectors, end-of-aisle guards, and rear protection should also be considered in areas exposed to forklift impact or pedestrian traffic.
A Step-by-Step Guide to Pallet Rack Installation
Step 1: Inspect the Site and Mark the Layout
Use the approved warehouse layout drawing to mark the position of each rack row, upright frame, and aisle. A chalk line or laser level can help maintain straight rows and consistent spacing.
Check the distance from walls, columns, doors, sprinklers, lighting, and other equipment. Accurate marking at this stage helps prevent alignment problems later.
Step 2: Assemble the Upright Frames
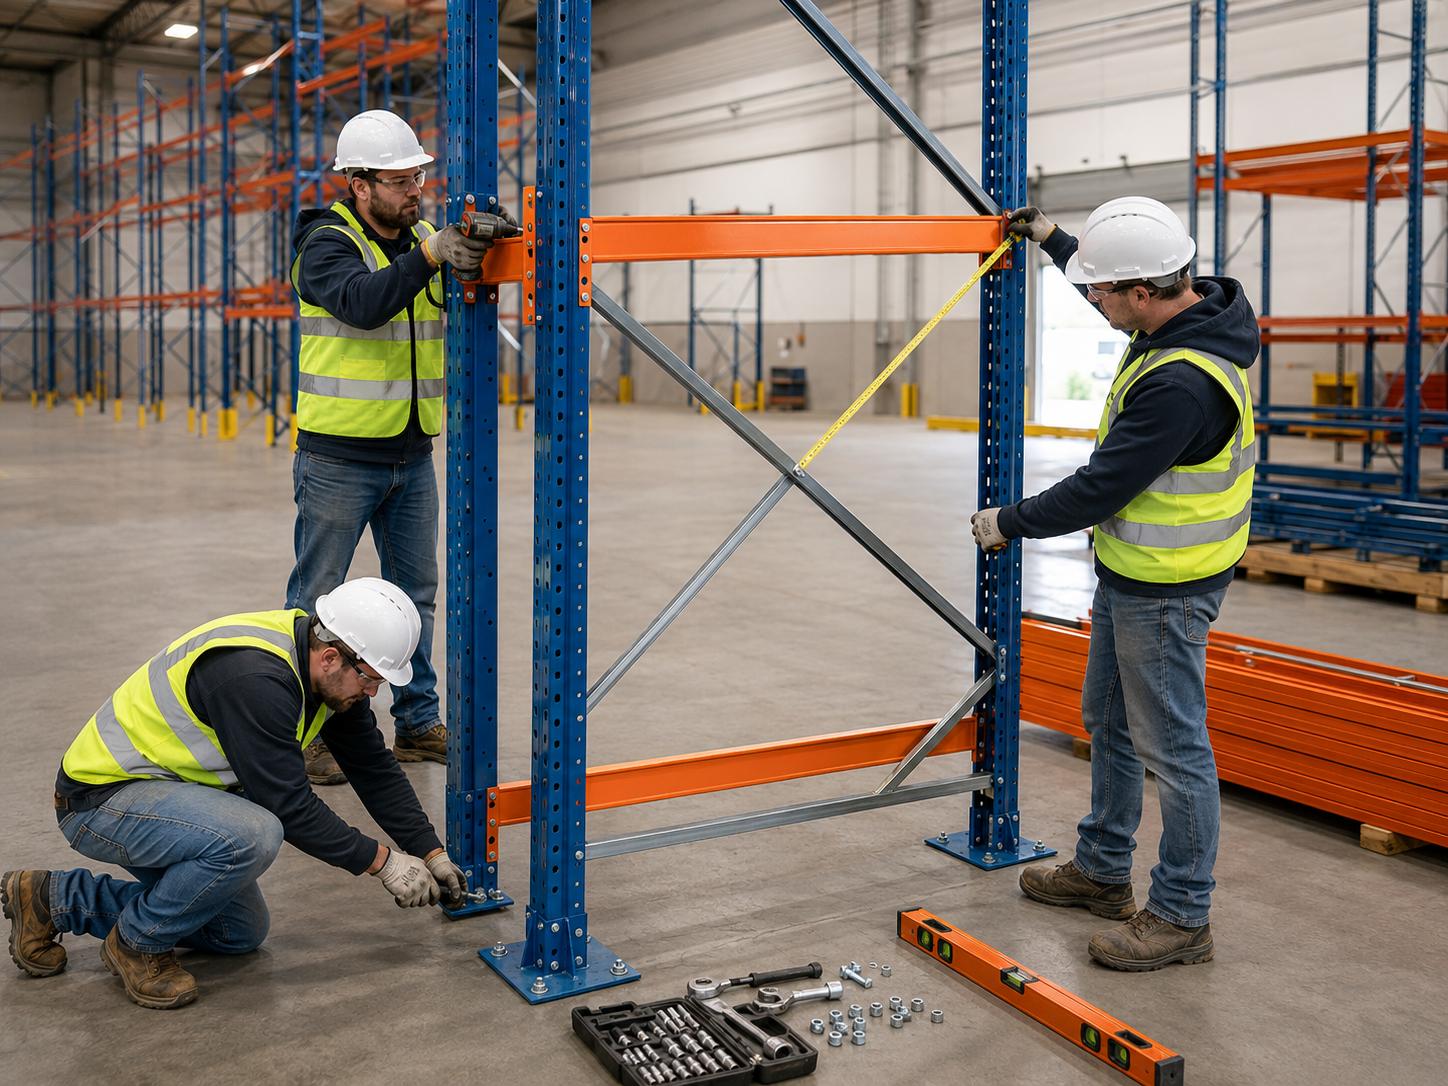
Place the upright posts on a clean and level surface. Connect the horizontal and diagonal braces according to the manufacturer’s instructions, then install the baseplates at the bottom of each upright.
If the design allows adjustment during squaring, keep bolted connections slightly loose at first. Measure the frame diagonally in both directions. When the diagonal measurements are equal, the frame is square. Tighten the bolts to the manufacturer’s specified torque.
Step 3: Position and Plumb the Uprights
Carefully lift the assembled upright frames into their marked locations. Stabilize each frame while connecting the first beams.
Use a spirit level or suitable leveling equipment to confirm that the uprights are vertically plumb. If the floor has minor variations, use approved shims or leveling methods rather than improvised materials.
Check the distance between frames to make sure the bay width matches the approved design.
Step 4: Install the Horizontal Beams
Install the lowest pair of beams first to provide initial stability. Align each beam connector with the slots in the upright posts and make sure the connector is fully seated.
Install every required safety pin or locking clip immediately after positioning the beam. These components help prevent accidental beam disengagement during operation.
Continue installing the remaining beam levels according to the approved storage layout. For multiple-bay runs, add row spacers or other specified bracing components and confirm that the beams remain level.
Do not replace beam sizes or change beam levels from the approved design without confirming that the revised configuration still meets the required load capacity.
Step 5: Anchor the Racks to the Floor
After the first bay or complete rack row has been aligned, mark the anchor locations through the baseplates.
Drill the concrete using the diameter and depth specified by the manufacturer or project engineer. Remove drilling dust before inserting the approved anchors.
Tighten the anchors using the specified method and recheck the upright alignment afterward.
Anchor requirements depend on the rack design, concrete floor, loading condition, seismic requirements, and local regulations. Generic anchor sizes, embedment depths, or torque values should not be copied from another rack system.
Step 6: Install Decking and Protection Accessories
Install wire mesh decking, pallet support bars, or other approved supports where required. Make sure all deck panels and support components are correctly seated and suitable for the intended pallet load.
Install column protectors and end-of-aisle guards in locations vulnerable to forklift impact. Pallet backstops or rear safety systems may also be required where there is a risk of pallets being pushed beyond the rear of the rack.
Load capacity signs should be installed in clearly visible positions so operators can identify the approved rack configuration and permitted loads.
Inspection and Maintenance of Pallet Racking
Do not load the rack immediately after assembly. First, complete a final inspection of the entire system.
Check that:
Beam connectors are fully engaged.
Safety pins and clips are installed.
Uprights are plumb and rack rows are straight.
Beams are level and correctly positioned.
Baseplates, anchors, and braces are secure.
Decking and protective accessories are correctly installed.
Load capacity signs are visible and accurate.
Forklift aisles and overhead clearances are adequate.
After the system enters service, establish a routine inspection process. Operators should report visible damage, missing clips, bent uprights, loose anchors, corrosion, and overloaded beams as soon as they are found.
Any rack damaged by forklift impact should be unloaded or isolated as appropriate and assessed before continued use. Regular inspection intervals should be based on warehouse activity, manufacturer recommendations, and applicable local requirements.
Frequently Asked Questions
Can I install pallet racks myself?
Small systems may be assembled by trained personnel, but commercial warehouse installations should follow approved drawings and be checked by a competent installer. Large, tall, or heavily loaded systems may require professional engineering and installation support.
Do pallet racks need to be anchored?
In most warehouse applications, pallet racks require floor anchoring for stability. The correct anchor type and installation method depend on the rack design, floor condition, and local requirements.
What should I do if a rack upright is bent?
Unload or isolate the affected area and arrange an inspection. Do not straighten, weld, or modify a damaged upright without written approval from the rack manufacturer or a qualified engineer.
How much weight can a pallet rack hold?
The load capacity depends on the upright frame, beam size, bay width, beam level, pallet configuration, and installation conditions. Always use the load rating supplied for the specific rack system.
Can pallet rack beam levels be changed after installation?
Adjustable beams can often be repositioned, but changing beam levels may affect rack capacity and overall structural performance. The revised configuration should be checked before the rack is returned to normal use.
Do You Need a Custom Pallet Racking Solution?
Chaoyu provides customizable pallet racking solutions for warehouses, distribution centers, manufacturing facilities, and industrial storage applications. Rack configurations can be developed according to warehouse dimensions, pallet sizes, maximum pallet weight, required storage levels, and forklift operating conditions.
Looking for reliable warehouse racking solutions? Send Chaoyu your warehouse dimensions, pallet size, maximum pallet weight, required storage levels, and forklift information. The team can help prepare a suitable rack configuration and layout for your project.

References